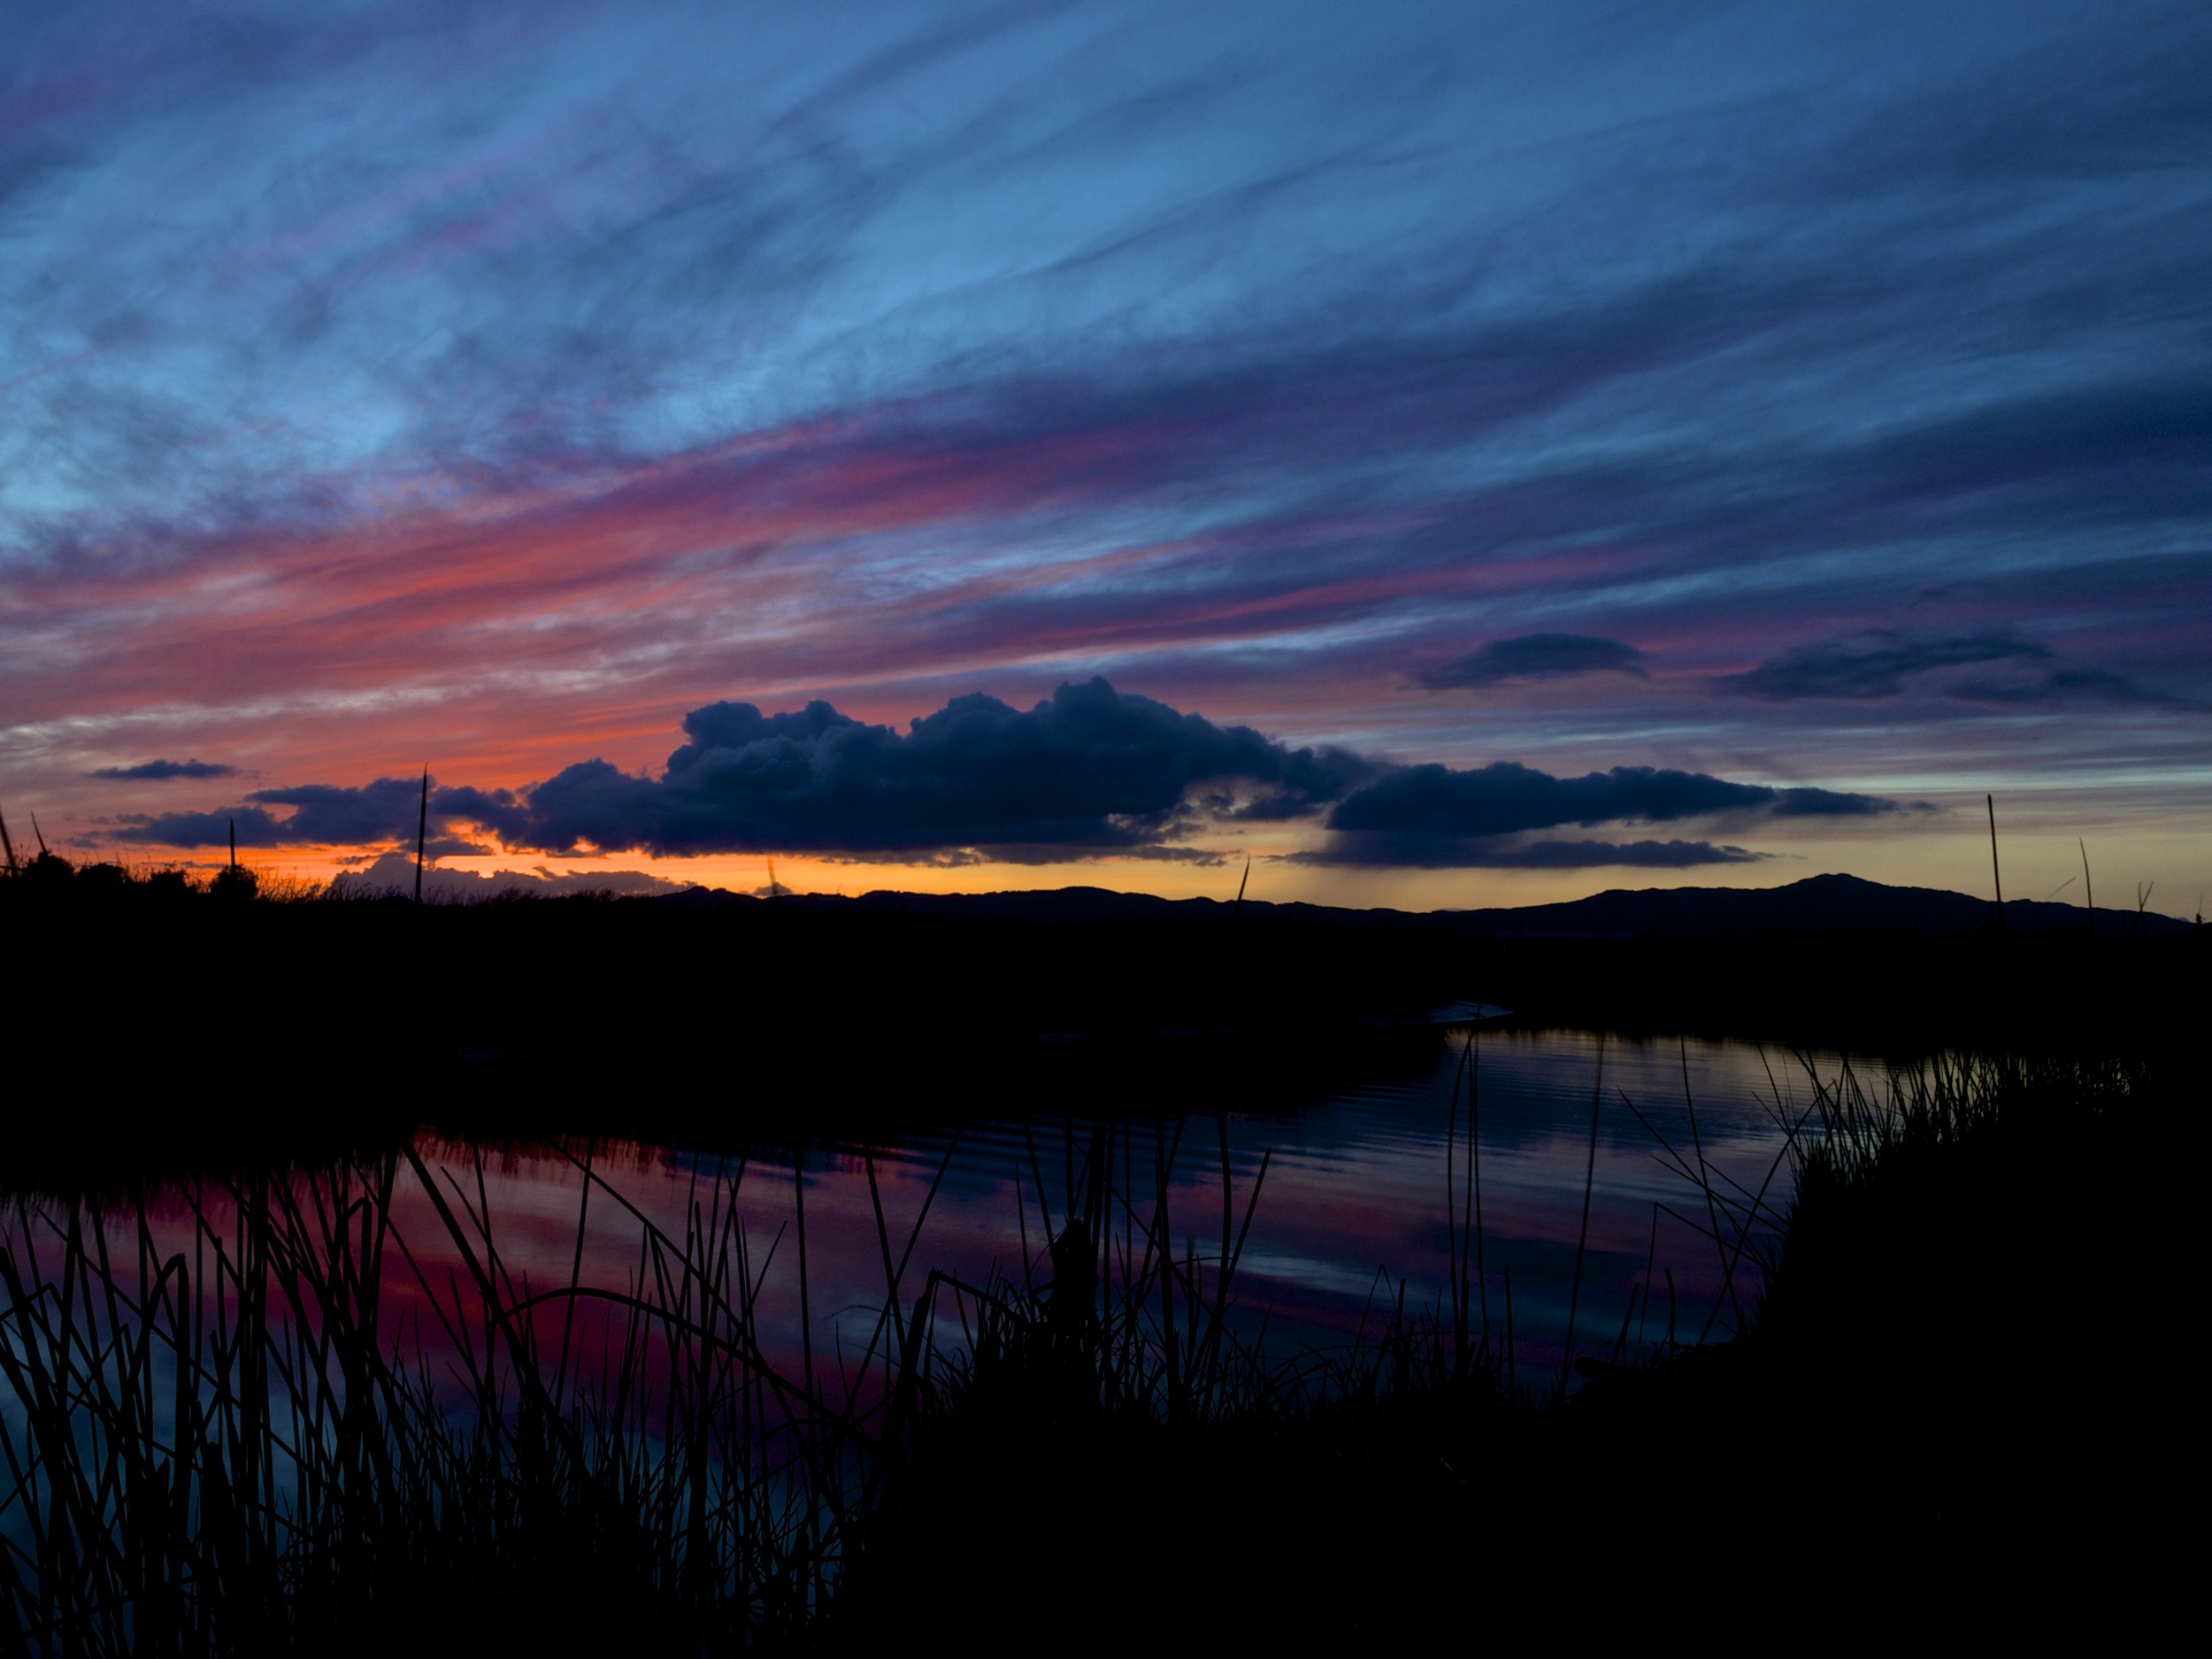
Sunset in Suisun Marsh: How I Took The Shot(s)
I've been asked how I took the shots for the HDR photo "Sunset in Suisun Marsh" last night, and I thought I should outline the process in a blog post.
Pre Shot Prep
I had spent the afternoon gazing at the clouds following a brief storm. The clouds had lingered, enough to make an interesting sky but not too overcast. I checked an iPhone app Local Sunrise & Sunset (free in App Store) and saw sunset at 6:06PM. I walked a mile or so through Suisun and south past the boat launch into the Suisun Wildlife Preserve.
Composing The Photo
I was at the very end of the trail, as far south as I could go. I was surrounded on three sides by water, and most importantly, the channel of the Peytonia slough which would make my foreground. I knew if I stayed after sunset the clouds would be lit up by the sun just past the horizon. I also knew if I got close enough to water, the colors of the sky would be reflected in the water.
Taking The Shots
My camera, a Panasonic Lumix GF3 has a very anemic Auto Exposure Bracketing (AEB) from -1.33 to +1.33. So to work around that deficiency, I manually bracket the exposures and shoot on a 2 second timer. Hey, I'm on a tripod already. Who needs AEB?
I periodically took sets of shots, mostly waiting for the colors to really stand out. When I saw the colors appearing in the water, I moved my tripod closer and lower. Reflections always stand out more the closer you are and at a sharper angle. If I moved closer, I would have been in the water. Not good, it was cold.
I kept shooting and stopping down the aperture. I wanted a long shutter speed just to smooth out the ripples in the water. At f/14 and 11 minutes after sunset, I got the shutterspeeds I wanted. Then I hightailed it out of there, since I left my flashlight in the car.
Post Process
Getting back home I went straight to the last five shots. Starting with the middle exposure I increased the contrast, definition (Apple Aperture parlance, Adobe Lightroom is clarity I believe) and vibrancy, dropped some of highlights and increased the shadows a bit. I copied the adjustments and stamped them to the remaining photos. New trick I picked up from G+ is to do noise reduction before sending the photos through Photomatix. Previously, I had gone straight to Photomatix and got some very grainy photos as a result. So I ran the shots through Topaz DeNoise first, then into Photomatix.
From there, I made a slight horizon adjustment and a little more de noising.


